Steep Short Film Mountain Shader
My friends at the Animation Capstone were working on a short film called Steep. They made this film in the span of 10 weeks from concept to final screening for a studio class, it was crazy how efficient they were! They had an extremely aggressive schedule to push through to get through the entire animation pipeline, however.
Their lead modeling/texturing artist, Evan Mcclure, sculpted a mountain mesh in ZBrush. He wanted a quick way to iterate through the texturing of the mountain in the film, so I was asked to make a shader in Maya hypershade.
Evan provided the art directable controls he wanted for this shader:
Three layers to control:
1. Base snow layer, the major form (MS 1 in the chart)
2. Underlying snow layer, to bleed out from under the base layer (MS 2)
3. Overlaying snow layer to add some noise to the surface finish of the base layer (MS 3)
Each with a way I can play with:
1. The threshold-- where the snow ends
2. The graininess (scale) of the noise
3. The color. If I can have one color control for the mountain that would be ideal, but I want individual control over the color of each of the three snow layers
I don't need to understand how they work, just tell me how/where to interface with those controls on each.

The implementation wasn’t so difficult for what he was asking.
First, I started with the design of each snow layer. A single layer was determined with a dot product calculation threshold. First, we take the dot product between: the mountain’s normals in world space and the up vector, <0, 1, 0>. Both are normalized, so the threshold could be animated between 0-1. If greater than threshold, snow. If less than, no snow. This cutoff operation led to their desired cartoony look of discrete blocks of color.
An additional calculation was added prior to the threshold check. This was to make the breaking of the snow at the fringes more interesting. I added a control for cellular noise in world space, although the mountain is static so it wouldn’t particularly matter. The noise textures were in grayscale, so I only needed to plug in a single R, G, or B channel (which ranges from 0-1), and fit the range of values to be zero-centered, and small in magnitude. For example, I fit it to the -0.05 to 0.05 range, but I exposed these parameters to be art directable. Then this was added to the original dot product calculation to be processed through the thresholding.
aiCellNoise is a node that offers different types of cellular noises and your typical noise parameters. I exposed all of these to Evan.
After creating all these layers, they were all added layered together with an over blend mode, the alpha of each successive layer 0 or 1 depending on if there is snow. The one exception being the top most layer, which was to be multiplied with the alpha of the top layer of snow, as it was intended to bring small imperfections to the upper-most snow layer. In the image below, this top layer is nearly imperceptible.
Finally, there was a one last control to adjust the specular roughness of the snow layers combined and the bottom layer (the mountain underneath the snow!).


There were a few tweaks to keep in mind for the visual design of the film. I originally overengineered this shader to include color ramps, after re-fitting the dot + noise calculation back into the 0-1 range AFTER the thresholding. I also added additional layering of noises of different frequencies for each snow layer. However, to best match the desired visual style, Evan and I decided to keep it to a single noise control per layer, and no ramps, for flat washes of color on the mountain and simplified, blockier shapes for the fringes. This is something that would be lost with multiple layers of noise.
There were other ways I thought about improving the shader to make it more interesting:
For example, ramping the noise grayscale value itself (prior to the thresholding which wouldn’t destroy the discrete coloring), introducing aiColorCorrect to manipulate the grayscale values even more, or involving another texture manipulation driven by curvature calculations of the mesh. I personally think the curvature calculations would have made the most impact, as all other operations I’ve constructed thus far directly involve the dot product thresholding. I think all the manipulations I would’ve wanted to add would have achieved similar visual changes, therefore adding additional controls that wouldn’t be necessary and muddied the already exposed parameters.
One thing I also realized is that a gradient calculation could probably be made within the shader by calculating position of points nearby, which could be used to distort the noise texture and create a sense of directionality with respect to the slope of the mountain. If not possible in the shader, this could be calculated using a measure SOP in Houdini then exporting the attributes to utilize using an aiUserDataRGB node.
Another easy improvement would be to improve the tool by allowing for vertex painting to adjust the threshold values of the shader for more user control and shaping of the snow.
It’s all stuff I’ve learned about tinkering with shaders and looking through the docs is to see all the many geometric relationships/operations that were provided or could be calculated. It was very informative, but unfortunately there was a tight deadline to match.

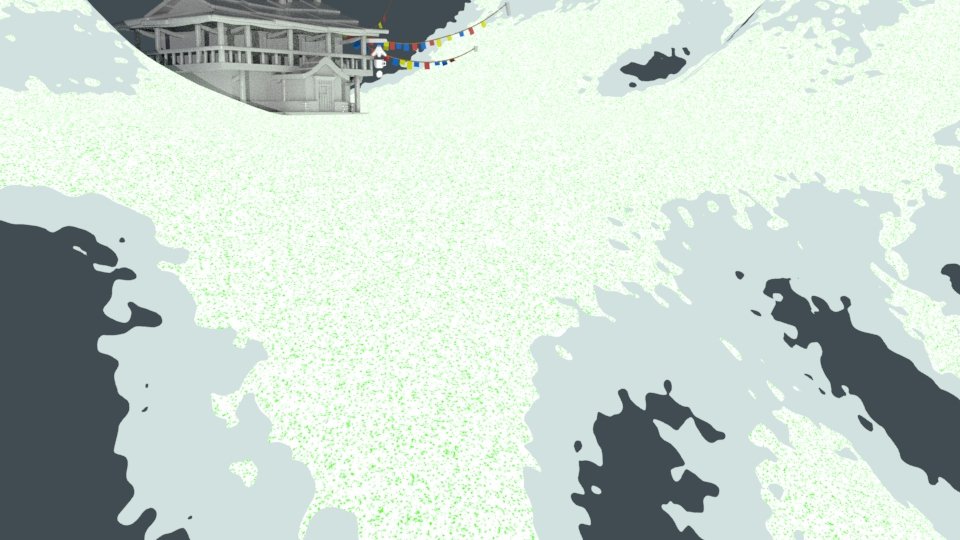
The title shot for Steep.
